Like UiPath’s community forums, we want to join in on sharing our knowledge with others in our community. Our RPA Solution Architect, Lucian Sirbu, created a list of his favourite tips for UiPath Developers. Whether you’re just starting out in RPA, or you’re a seasoned developer, we want to share some insights with you that perhaps you needed to hear.
In this article, we will cover:
- Tip #1: Exception Handling is Everything
- Tip #2: Logging Levels and You
- Tip #3: Flowcharts and Logical Grouping of Steps
- Tip #4: Show The Value of Your Robots
- Tip #5: Testing Is All About The Data
Tip #1: Exception Handling Is Everything
The first and most important rule: everything will break! Don’t worry—that’s normal.
The applications that you’re interacting with are not perfect, nothing is! They might time-out, give unexpected pop-ups, your data might not reflect actual production, and other unknowns might appear. The best thing you can do as an RPA Developer is ask—what if…?
What if…?
- This date field comes in an invalid format
- The whole process breaks and I’m going to have to spend 30 minutes digging through the code to find out what happened
- Instead I added a validation step and generated a clean ‘Log Message’ that let’s me know what’s happened
Each time you interact with an application, check if it’s in the correct state for that action. Use an ‘Element Exists’ to make sure you are on the home page before clicking anything, then after navigating, check if the desired page was actually opened.
All these steps are called sanity checks, and the more sanity you can bring into your robot, the easier your life will be once you go into production.
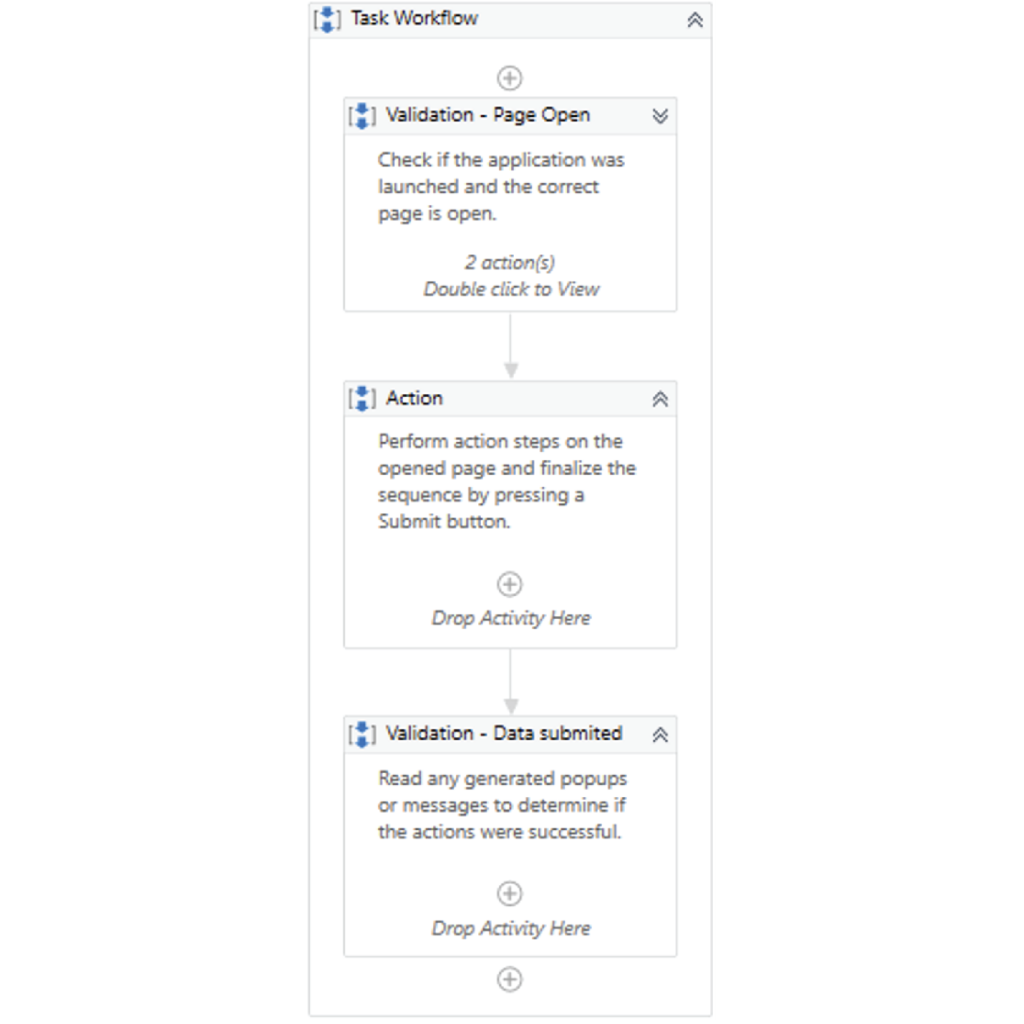
Pictured above is a task workflow with two sanity checks.
A best practice is to use the ‘Robotic Enterprise Framework’ as the starting point for your robot. This is available with any UiPath Studio, in the templates section, and comes with a core exception handling model.
Tip #2: Logging Levels and You
There’s a lot of debate surrounding how many logs you should add to your code. You want to hit that sweet spot between there’s enough information to understand what happened but also not too much that it blows up the database.
One item that many people forget about is the ‘Logging Level’ functionality. You can define logs on multiple levels and only track specific levels in each environment.
For Example: You can add generic ‘Log Messages’ that give a high level overview of the execution and set them at Info level.
Next, you add more detailed ‘Log Messages’ that track actual data flows, making debugging easier. You would set these at ‘Trace’ level.
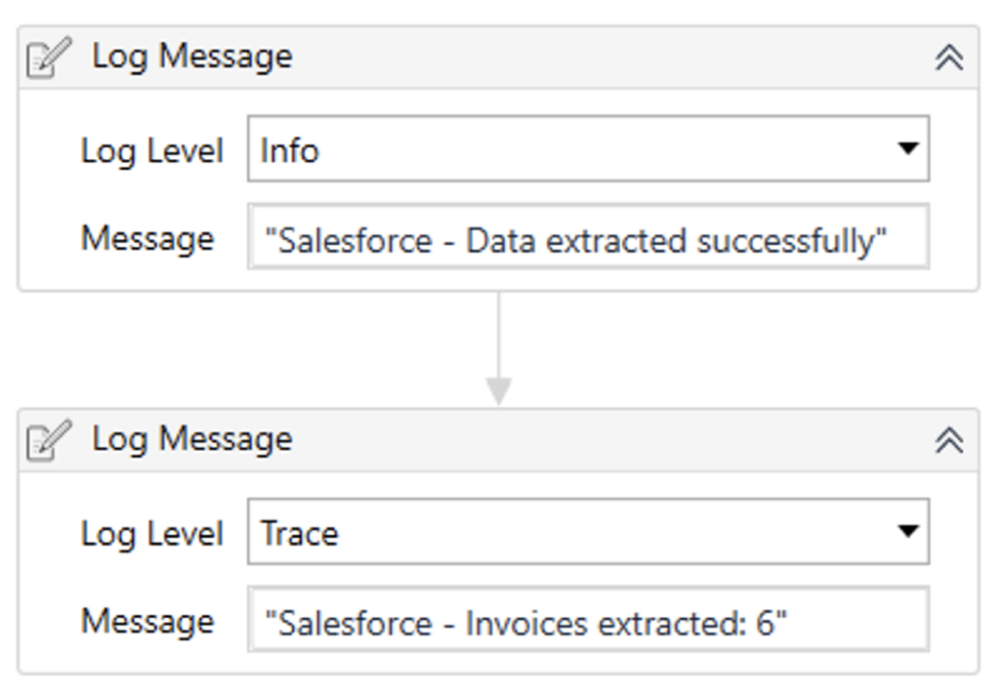
Pictured above are different ‘Logging Levels’.
The logs are stored in Orchestrator based on the configured ‘Log Level’ for the specific robot. A good practice is to set development and UAT environments to ‘Trace’, then set ‘Production’ to ‘Info’. This way you will have more detailed logs in ‘Dev/UAT’ and keep ‘Prod’ logs trimmed down to the essentials.
You can control this by editing the robot settings in Orchestrator:
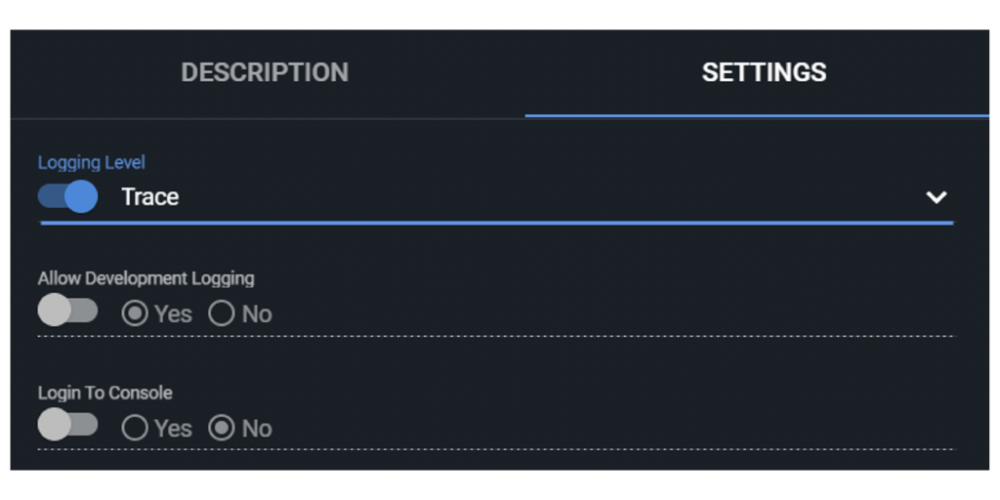
Pictured above are the Orchestrator robot settings.
Tip #3: Flowcharts and Logical Grouping of Steps
Building a robot is not the same as coding in C++ or Java. While there are many instances where you have to write blocks of code, the high-level operations of the robot are driven by business rules. These are often expressed in flowcharts, so why not reflect that in your robot as well?
We recommend that you start your processing with a flowchart where you can define logical units and main decision points.
For Example: The ‘Process.xaml’ file in the ‘REFramework’ would be your high-level flowchart.
Instead of following each step individually, try to group them up logically. You can even think of it as building robot skills.
What skill does my robot need to perform these 20 steps?
Well, the first 5 steps might be about reading from a mailbox and then making a few decisions. This means that I can define a ‘Sequence’ for mailbox processing and group up the relevant steps into it.
Finally, I can add some annotation to describe what the Sequence will do and even reference Process Design Document (PDD) steps directly.
This will make the code more readable, both for other people, but also for yourself when you come back to it months later to investigate a potential change.
You can even do this from the design phase with empty ‘Sequences’. This will give you a framework to follow and highlight any potentially missing information from the PDD.

Example of high-level workflow.
Tip #4: Show The Value Of Your Robots
A common problem we see in organizations that are just starting with RPA is a lack of visibility into the gains RPA actually brings. Oftentimes, the focus is to deliver first and worry about reporting later.
While it makes sense to focus on delivery first, you can still take some very simple steps to ensure you have the data needed for reporting later on.
The best advice we can give for this is to store any relevant information directly in the ‘Queue’. Once you have finished processing a transaction, use the ‘Output’ or ‘Analytics’ section of the ‘Set Transaction Status’ to save relevant information regarding what the robot did.
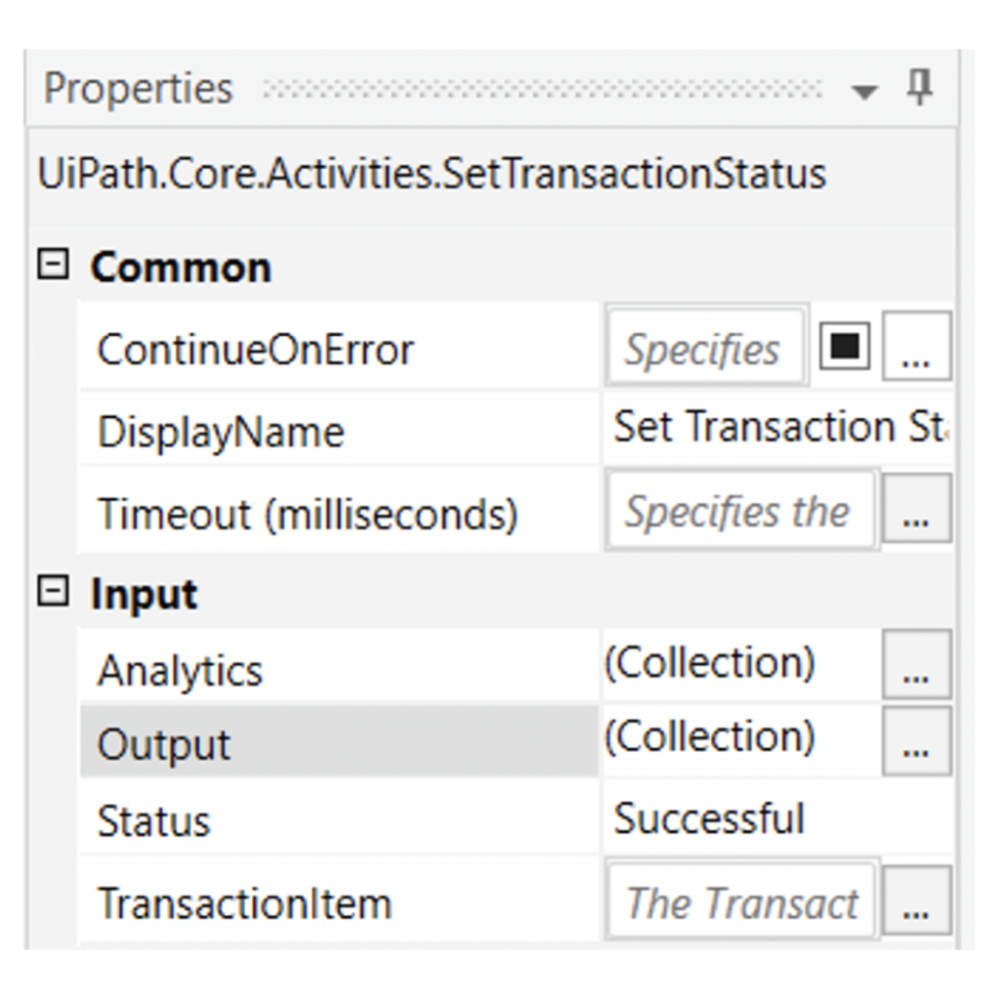
Output screen in the Set Transaction Status.
The most common data points to be stored are processing outcome (success branches and business rule exceptions), unique identifiers (eg. invoice number, client id, ticket code, etc.), regional markers (eg. branch id, country code, business unit, etc.) and time saved / value-added.
If you add this information into the queue, at a later date you can easily pull that information out and create visualizations. You can export the queue data as a CSV and ingest it into another tool, or use Microsoft Excel directly to build graphs or build a separate robot to generate reports.
Once you decide to take your organization to the next level, by implementing a reporting tool such as UiPath Insights, you will already have the data points saved and all you will have to do is build the dashboards.
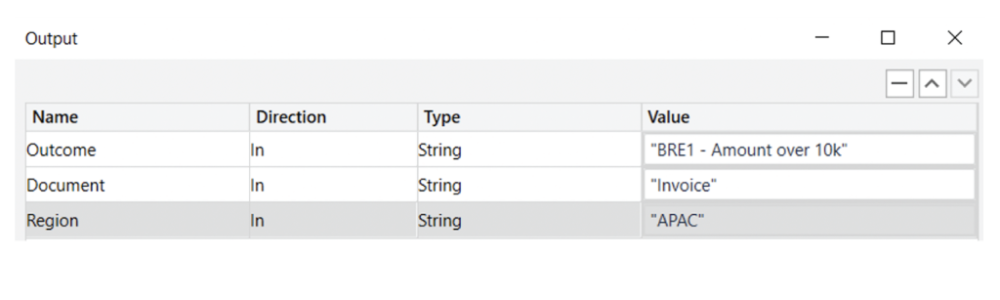
Example of Output fields.
A small amount of effort now will make your life much easier when you need to show what the robot has been doing for the past 6 months.
Tip #5: Testing Is All About The Data
As you’re building a robot, you will go through several testing phases, each with its own particularities.
First, you will perform unit testing. At this point, you are testing each workflow individually in a controlled environment.
Next, you will test end-to-end by running the entire code. This is generally done in a development environment with dummy data.
Finally, you will perform User Acceptance Testing, where you have clear test scenarios with inputs and expected outputs.
That all sounds good, right? Then you go to production and everything breaks. Sound familiar?
The reality of most implementations is that test data does not reflect production data. Most of the time you will find a high number of exceptions that were not documented, data points in different formats, and unexpected inputs.
So before you go into production, always ask for live data! The more the better. If you can get at least 30 days worth of live data, run that through your robot in order to highlight potential problems or missed requirements.
If your robot needs to perform steps in an application, consider implementing a read-only mode. Each step that would make a change in the application can be contained in an IF statement. In read-only mode, it would skip the submit/save button and close the window instead.
This would allow you to go through the steps without any changes in the actual production environment, but would be enough to highlight any unexpected situations, including differences in selectors between development and production.
Did you find these tips helpful? Bookmark this blog!